Description
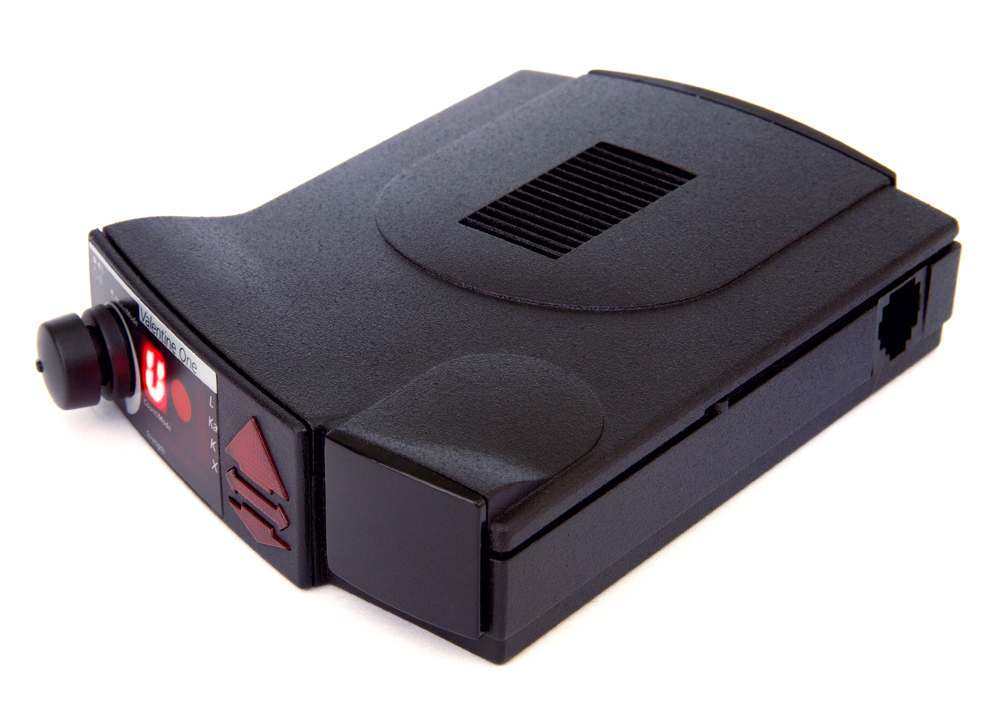
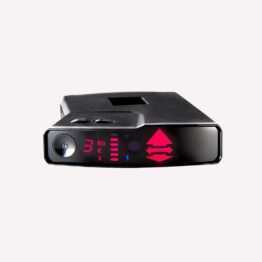
Valentine One radar detector – The V1 is one of the most famous radar detector and offers mobile radar and laser warning with the greatest range for use against speed cameras also in Germany, Austria and Switzerland. The Valentine One by Valentine Research helps against speeding tickets from mobile speed cameras, speed cameras and lasers.
Valentine One benefits
- Ultimate high-end radar detector with laser warning for Europe-wide use
- many expansion options
- Reference radar warning device for many years
- Multiple repeated test winner of past years
- maximum range (up to 1000 m under ideal conditions)
- Great radar performance throughout Europe
- Front and back radar and laser antenna
- Brilliant sound output
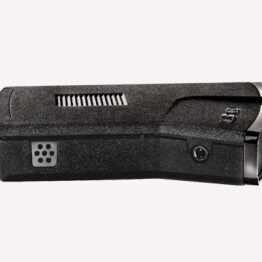
- valuable metal housing
- Direction indication of the received signals by means of LED arrows
- Self-test function at startup
- LED graph (displays the frequency band and signal strength)
- City / highway filter mode (reduces the interference due to false alarms)
- Volume control
- Complete accessories for mounting on the windshield (suction cups)
- Locating safe – not electronically detectable!
- Connection: easy on the cigarette lighter and mounting on the windshield (12 V)
Valentine One Disadvantages – Current Rating in Radar Detector comparison 2019:
- Settings are not intuitive (nothing works without instructions)
- no matrix & text display
- No GPS on board
- no POI radar detector database function
- insufficient protection for permanently installed flashes
- no speech output
- no adequate MRCD / CT multaradar detection
- relatively large in today’s comparison
- Updates only possible via Valentine Research USA
Our Current Radar Detector Recommendations specifically for Germany and Austria and Europe
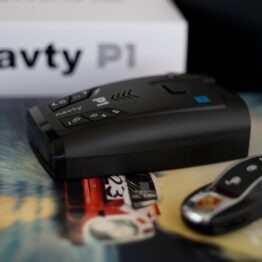
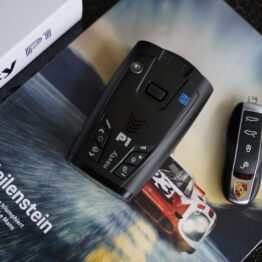
- NAVTY P1 Premium Edition (NAVTY P1R Firmware) – incl. GPS and better 3D Radar and Multaradar (MRCD / MRCT / GATSO) antenna
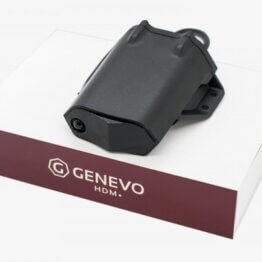
- Genevo One M – incl. GPS and Multaradar Detection (MRCD / MRCT / GATSO)
- Both radar detectors alternatives offer easier operation via text menu and voice output in English as well as excellent multaradar recognition.
V1 Gen2 PROGRAMMING
Whenever you alter V1 Gen2’s factory settings you run the risk of inadvertently disabling some aspect of its protection that you really need. Please keep that in mind if you decide to modify its factory programming.
Simple programming changes are possible using only the front-panel controls. Enabling or disabling bands and muting adjustments are typical of changes available with this approach. Our free app enables more subtle alterations. Moreover, the app allows individual settings to be grouped and saved as “profiles” that may be called up later when repeating a specific trip.
The logic of reprogramming is as follows—when you enter the Programming Mode you arrive at a sequence of switches that you step through. Mostly these are on-off switches; you have the option of toggling the switch or skipping over it. When you’ve finished with your adjustments, exit the Programming Mode.
A. How to determine V1 Gen2’s current Operating Mode.
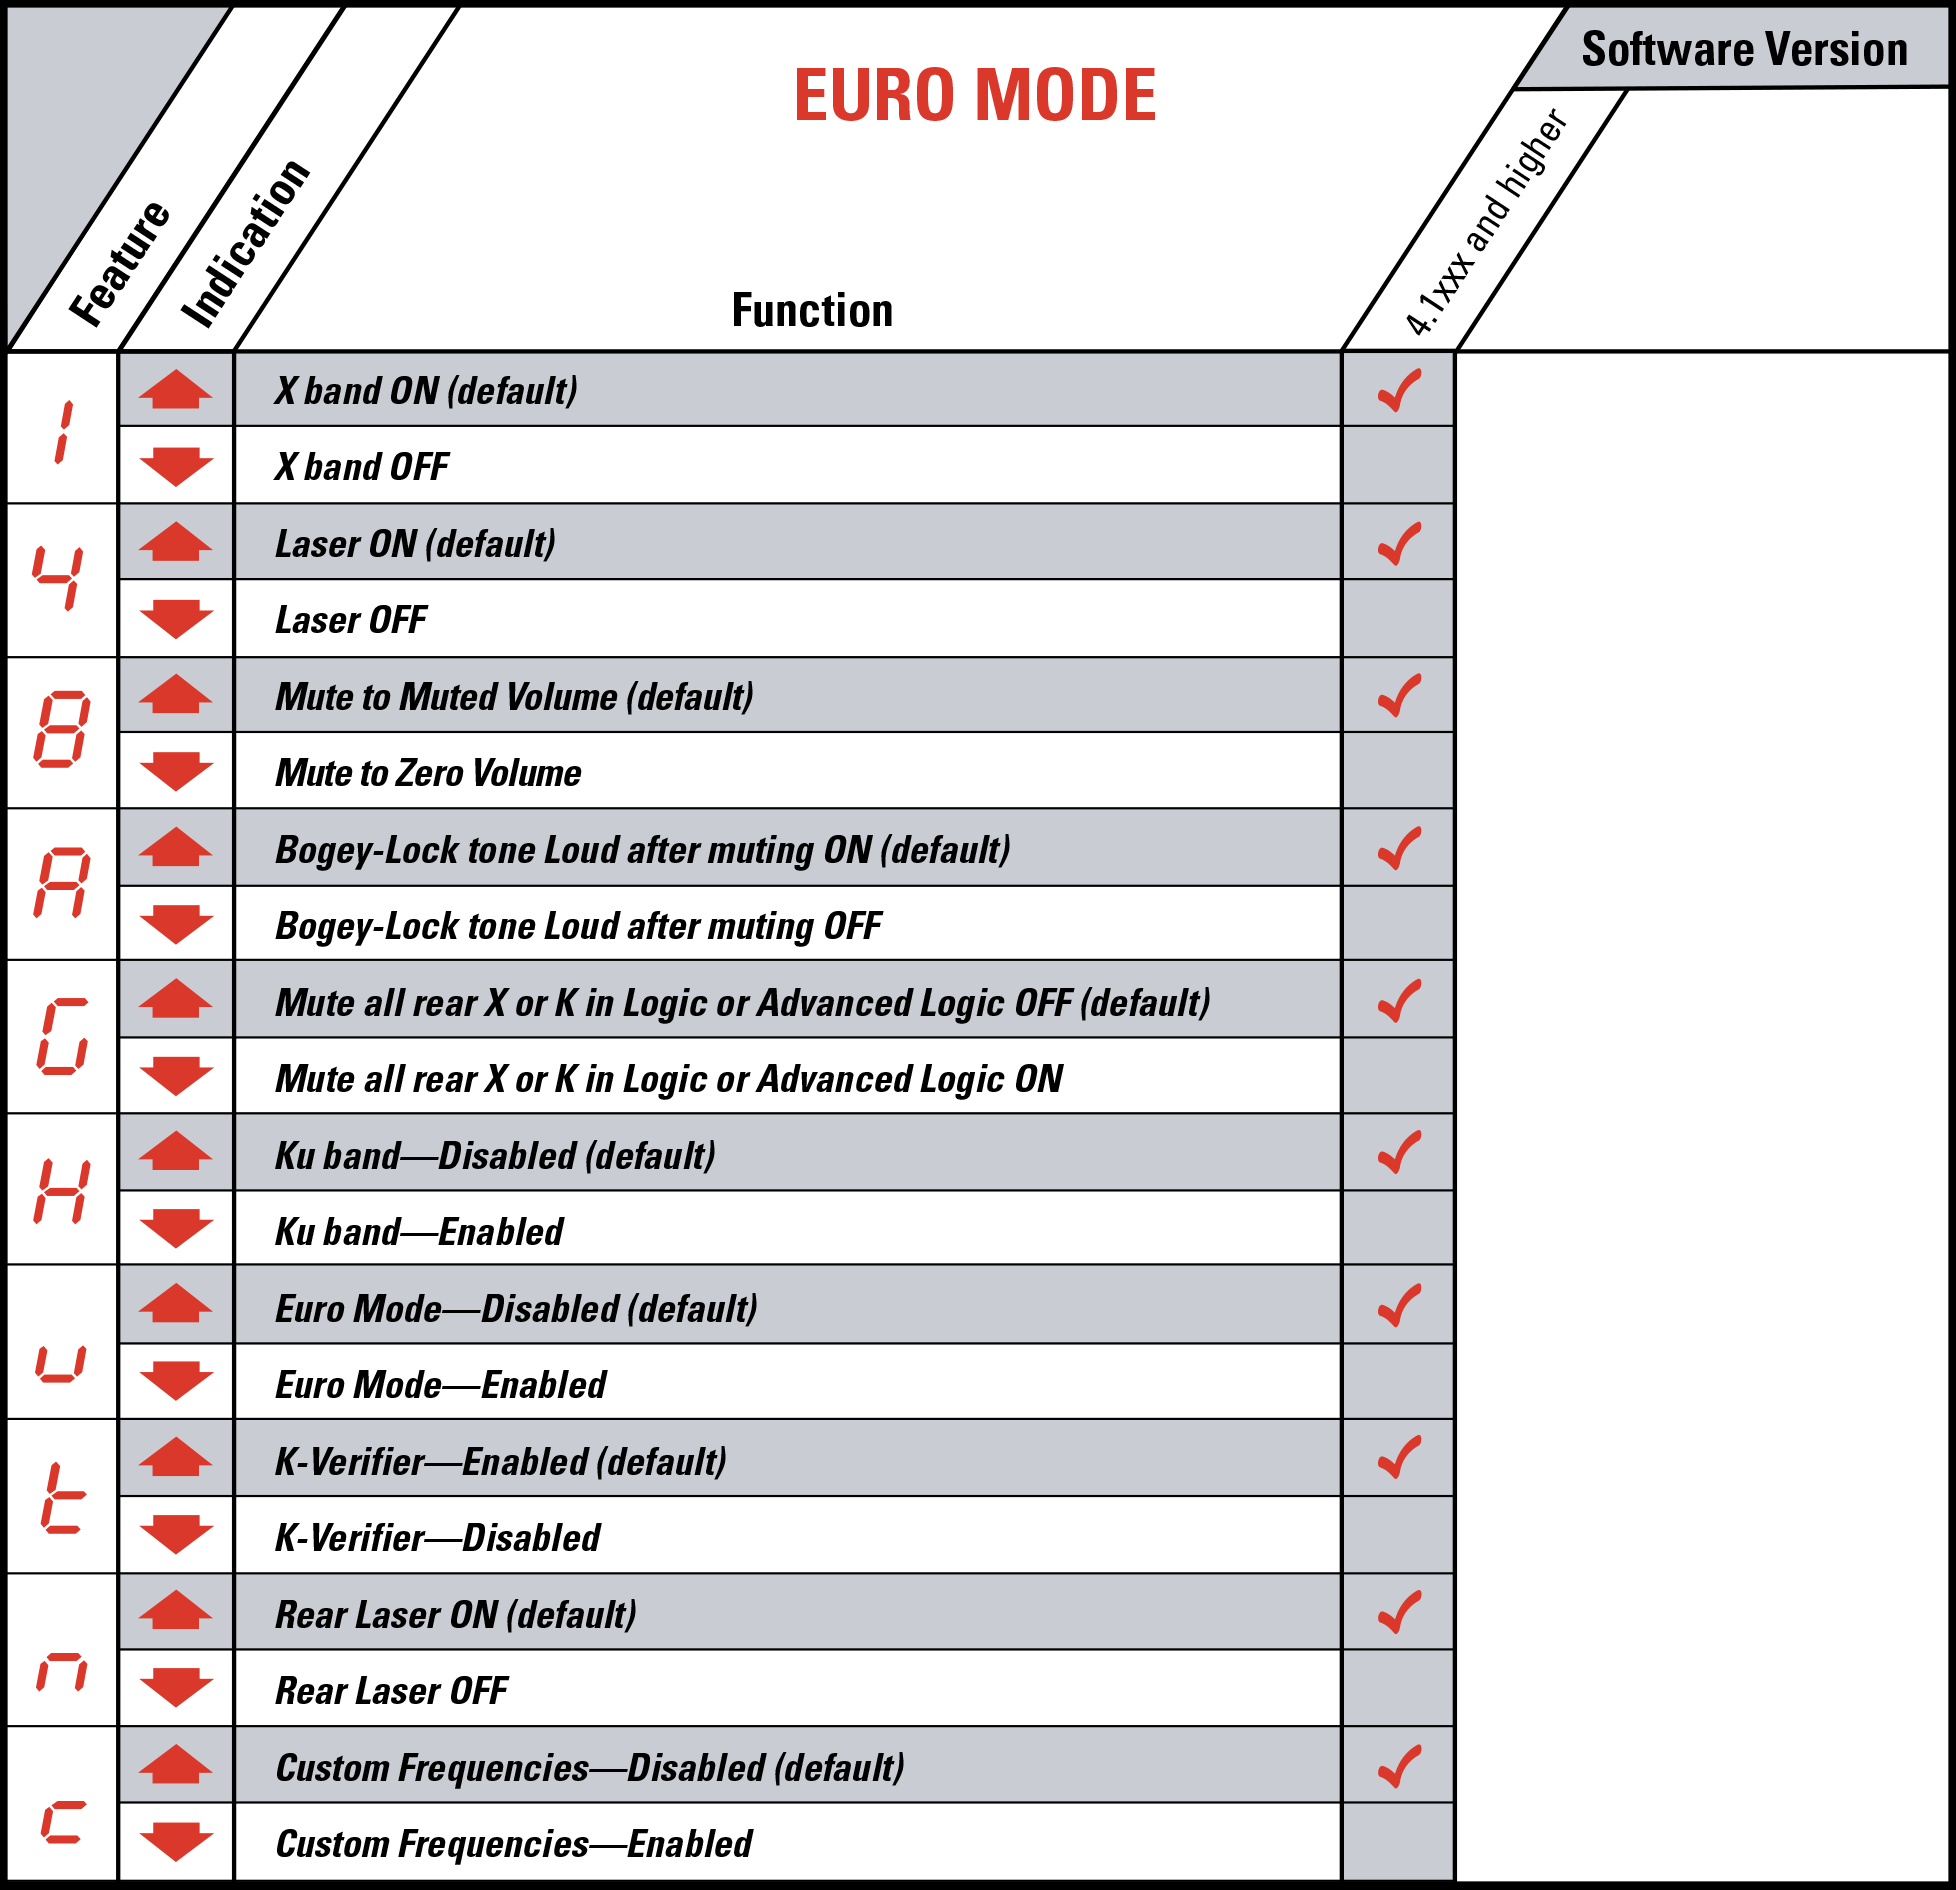
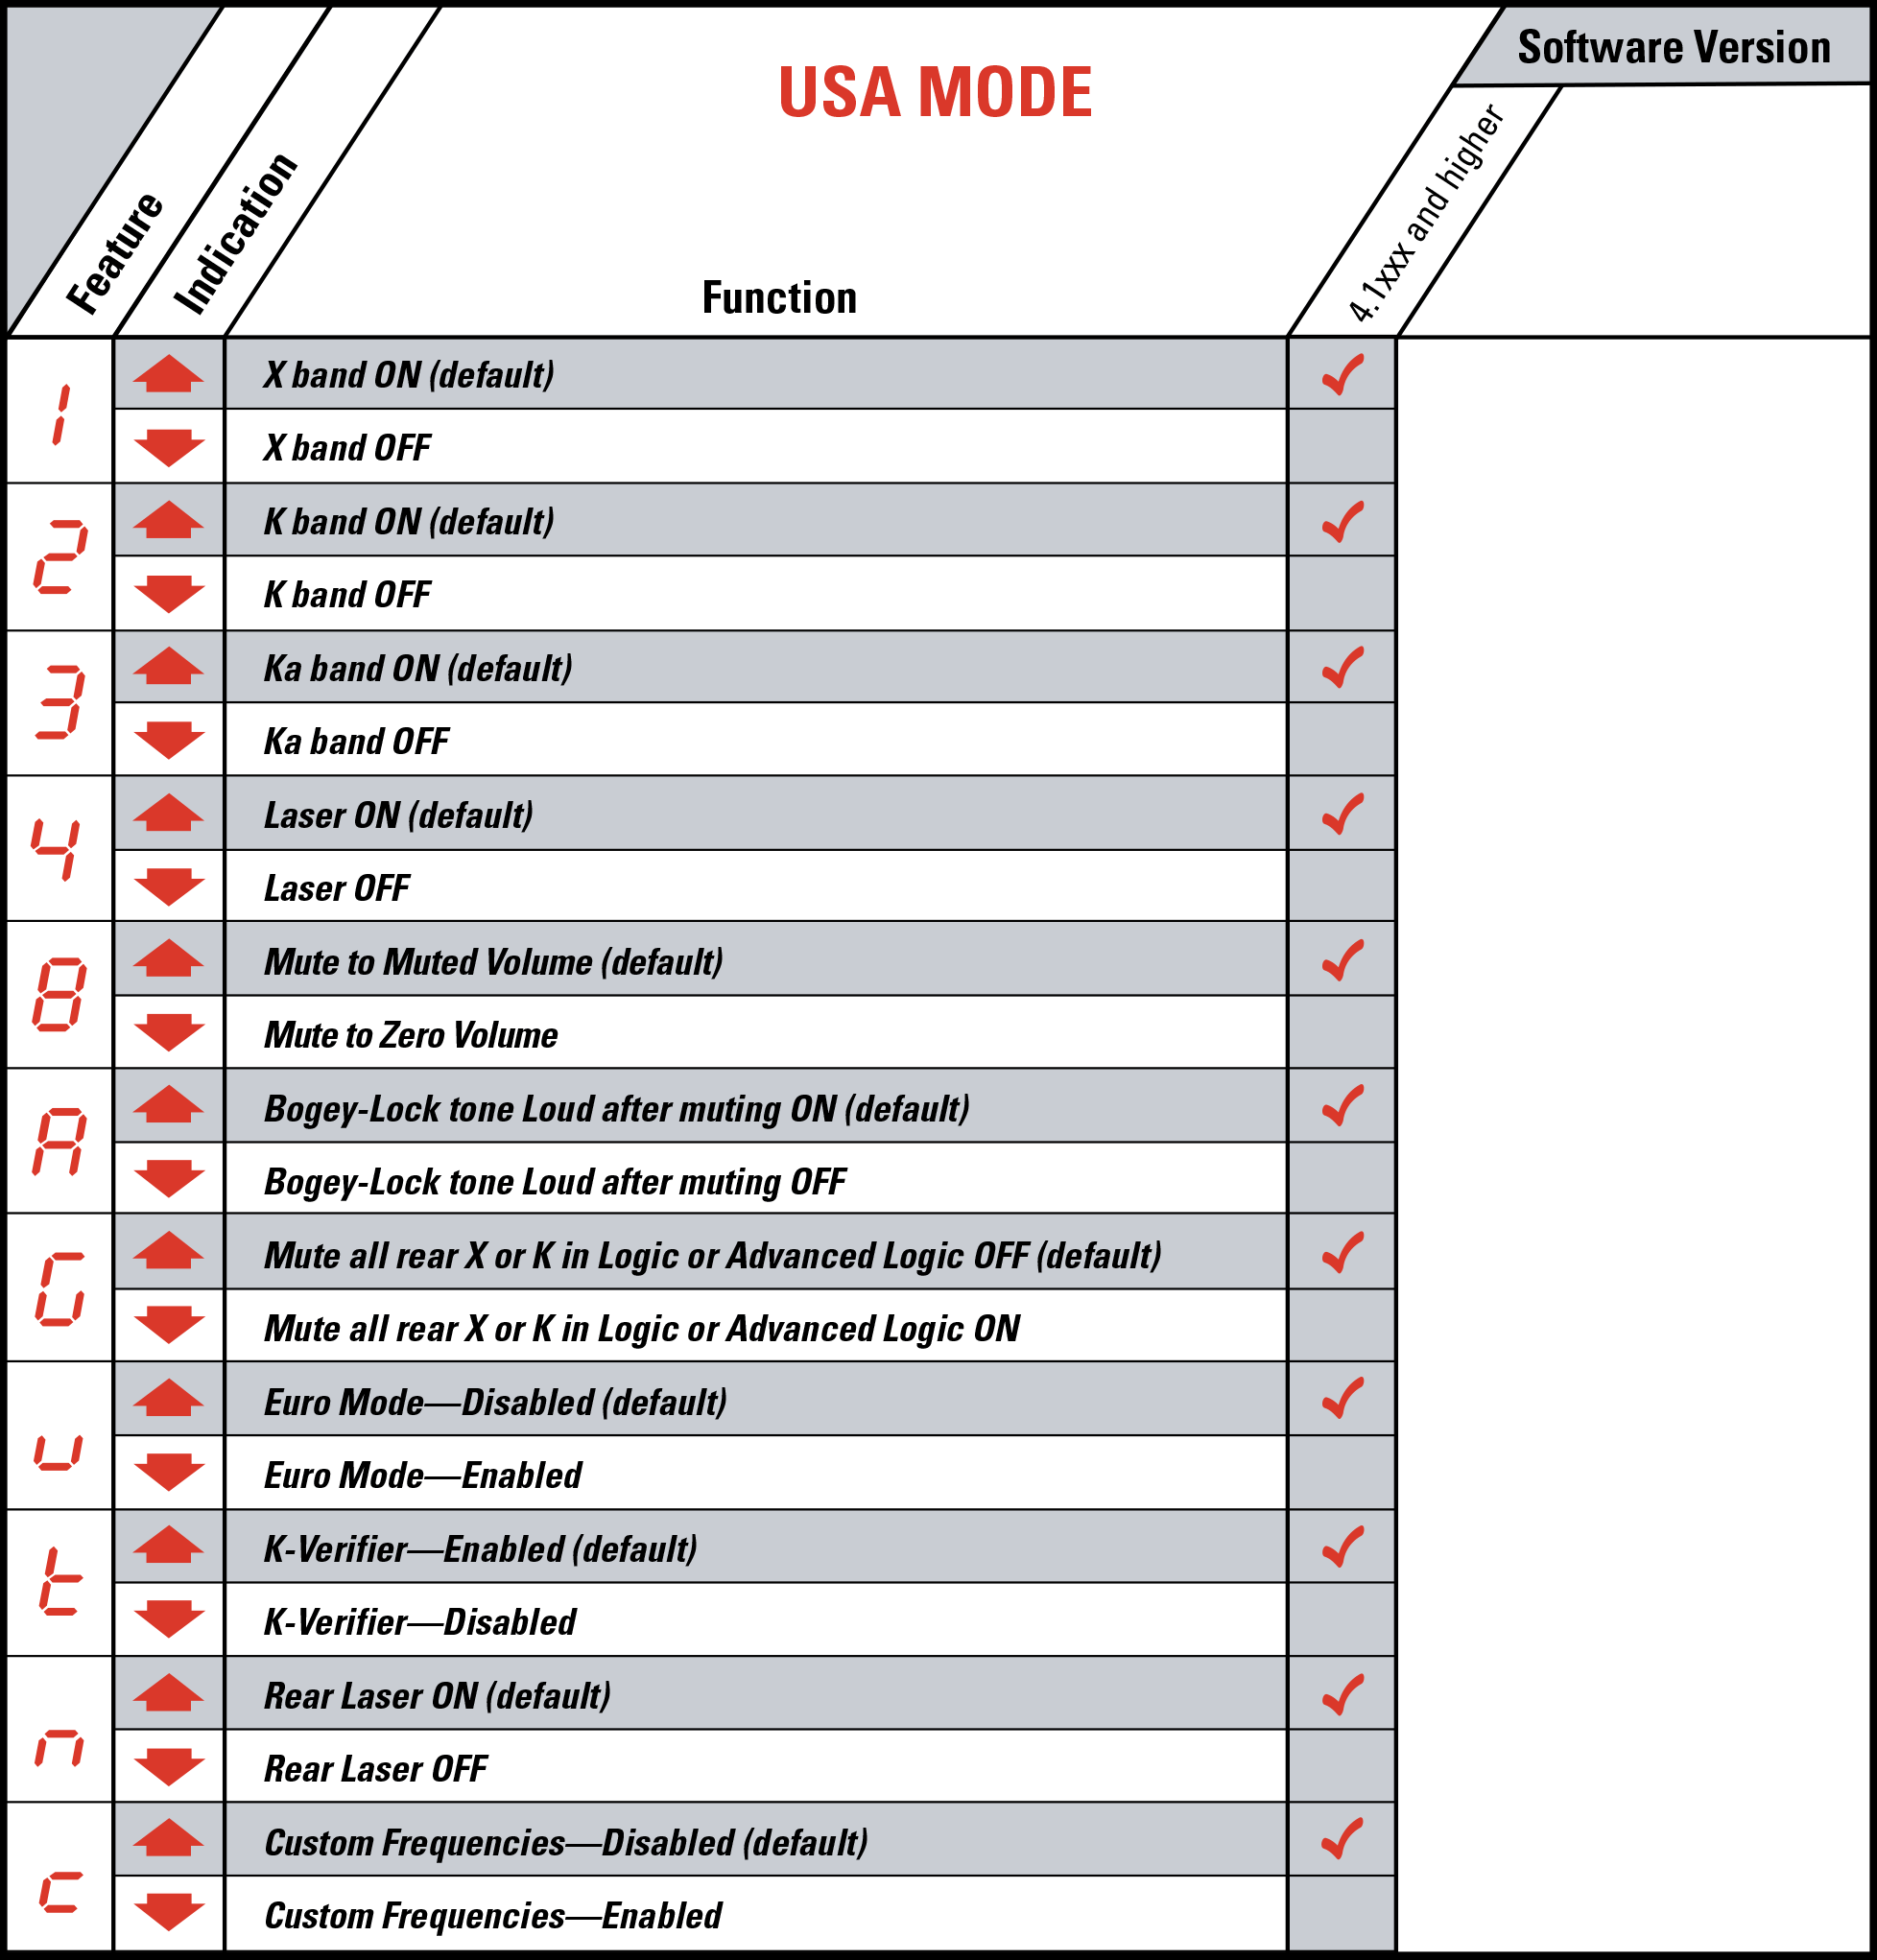
- All V1 Gen2s are shipped from the factory in “USA Mode.” To verify your current status, repeatedly press-and-hold the Control Button for 1.5 seconds to cycle through the Analyzer Modes. If you see “A,” “small L,” “cap L,” See below for the USA Mode programming chart. If you see “U,” then “small U,” see below for the Euro Mode programming chart.
B. How to enter the Programming Mode.
- Starting with power on, press-and-hold both Volume + and Volume – until all front-panel lights are on (takes about 5 seconds).
C. How to determine your software version.
- Press and immediately release the Volume + button. The software-version number is five digits that display one digit at a time in the Bogey Counter—example: 4.1xxx.
- Note your software number, then see the table below for features that are programmable in your unit.
- Press and immediately release the Volume + button to exit software-version display.
D. How to tell if V1 Gen2 has been changed from factory settings.
- During the display of the software version, observe the direction of the arrow in the display: arrow up indicates factory default; arrow down indicates a change from factory default.
- Press and immediately release the Volume + button to exit software-version display.
E. How to program your desired features.
- The switchable Feature is indicated by a character in the “Bogey Counter”.
- To select the next Feature in the sequence, press Volume +; to select the previous Feature press Volume -.
- The Feature State is indicated by direction arrows on the Radar Locator.
- The Feature State is changed by pressing and holding the Control Button until the arrow switches to the opposite direction (takes about 3 seconds). How to reinstate Factory Default settings.
- During the display of the software version, if the arrow is pointed down, press-and-hold the Control Button until the arrow points up.
G. How to exit the Programming Mode.
- Press-and-hold both Volume + and Volume – until the unit restarts. The changes you programmed will be retained in memory.
PDF MANUALS
For complete instructions to reprogram the New V1 Gen2 Radar Detector, Download here: Valentine V1Gen2-Programming
For complete instructions to reprogram the Original V1 Radar Detector, Download here: Programming Original V1 Gen1
V1 Gen2 PROGRAMMING SETUP
Also known as Blind Spot Warning (BSW), lane-change warning, side-assist and similar sounding names, these are usually radar-based systems using K band. They warn the driver of a vehicle in the way of a lane change. V1 Gen2 resists interference from almost all of them. However, there is a specific radar sensor used in some 2013-2016 GM vehicles that we’re still working on. The same sensor is also used in some 2007-2012 Mercedes Benz vehicles and 2011-2013 Chrysler and Jeep vehicles. To minimize the problem, owners of those vehicles can enter V1 Gen2’s programming mode and switch on feature G.
2013 – 2017 Buick Enclave and Buick Verano
2013 – 2016 Cadillac SRX
2013 – 2017 Chevy Traverse
2014 – 2016 Chevy Impala, Chevrolet SS, Chevy Equinox, Chevy Cruze, and Chevy Volt
2011 – 2012 Chrysler Town & Country, Chrysler 300
2011 – 2012 Chrysler 300
2013 – 2017 GMC Acadia
2014 – 2016 GMC Terrain
2011 – 2013 Jeep Grand Cherokee
2007 – 2012 Mercedes-Benz (C, E, GL, GLK, ML, R, and SLS class)
2014 Mercedes-Benz SL63
Here’s the fallacy with GPS detectors—they can’t block a signal at its source because they don’t know where that is. They know only where your car is, so they block a zone all around your car. This may be okay in a weak detector, but a long-range detector may find that signal a mile away. Now GPS works against you because the block covers a huge zone. Worse yet, the block doesn’t pinpoint a single frequency, it blocks a wider band of frequencies that includes the offending signal. Now if traffic radar sets up within that blocked territory around your car, on a frequency within the blocked band, you’ll get no warning.
We think blocking signals we can’t pinpoint is too risky. Instead, V1 Gen2 characterizes every signal we find using our patented SAW D2L high-speed signal processor, then weeds out the ones that don’t fit the pattern of speed radar. V1 Gen2 combines long range with lowered risk.
Want more informations about radar and detectors? See also our all about radar site and our Radar detectors FAQ






Radar Shop Team –
V1 ist wohl das älteste heute noch verfügbare jedoch technisch grundsolides Radarwarngerät. Und es wird liebevoll von Valentine Research aus USA gepflegt. Jedoch ist sowohl das aus heutiger Sicht dürftige Bedienkonzept ohne Display oder Stimme und nur mittels Anleitung – geschweige einem deutschem Menü – möglich. Fehlendes GPS oder Update Möglichkeit (Updates nur über Valentine USA möglich) sind weitere Kritikpunkte. Einzig bei Laser schlägt das Gerät sehr gut Alarm (soweit bei Lasermessungen überhaupt möglich – siehe unser Technikguide). Jedoch trübt den guten Eindruck wegen häufiger Fehlalarme auch bei Sonnenstrahlung oder anderer Umstände, sodaß auch Laser nahezu unbrauchbar häufiger anschlägt.